|
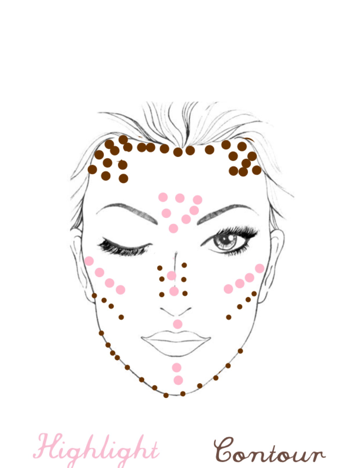
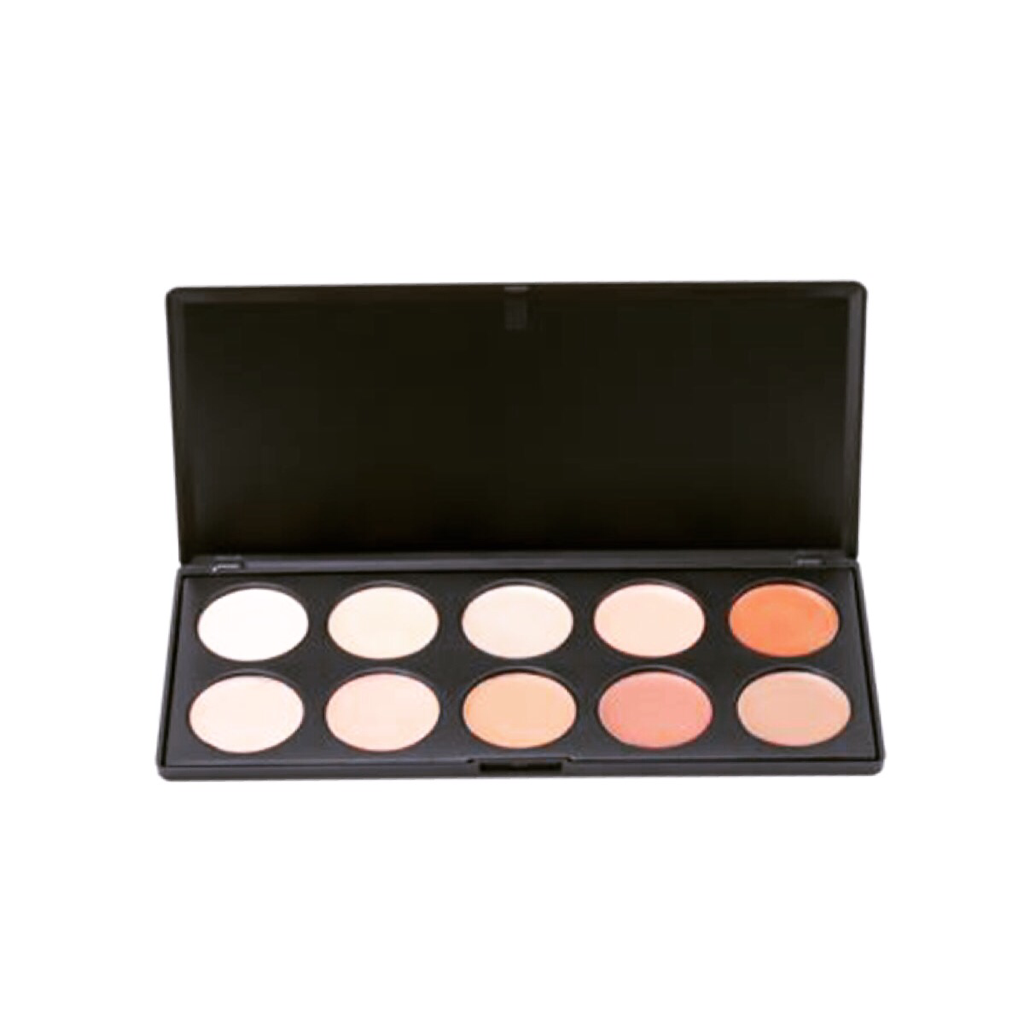
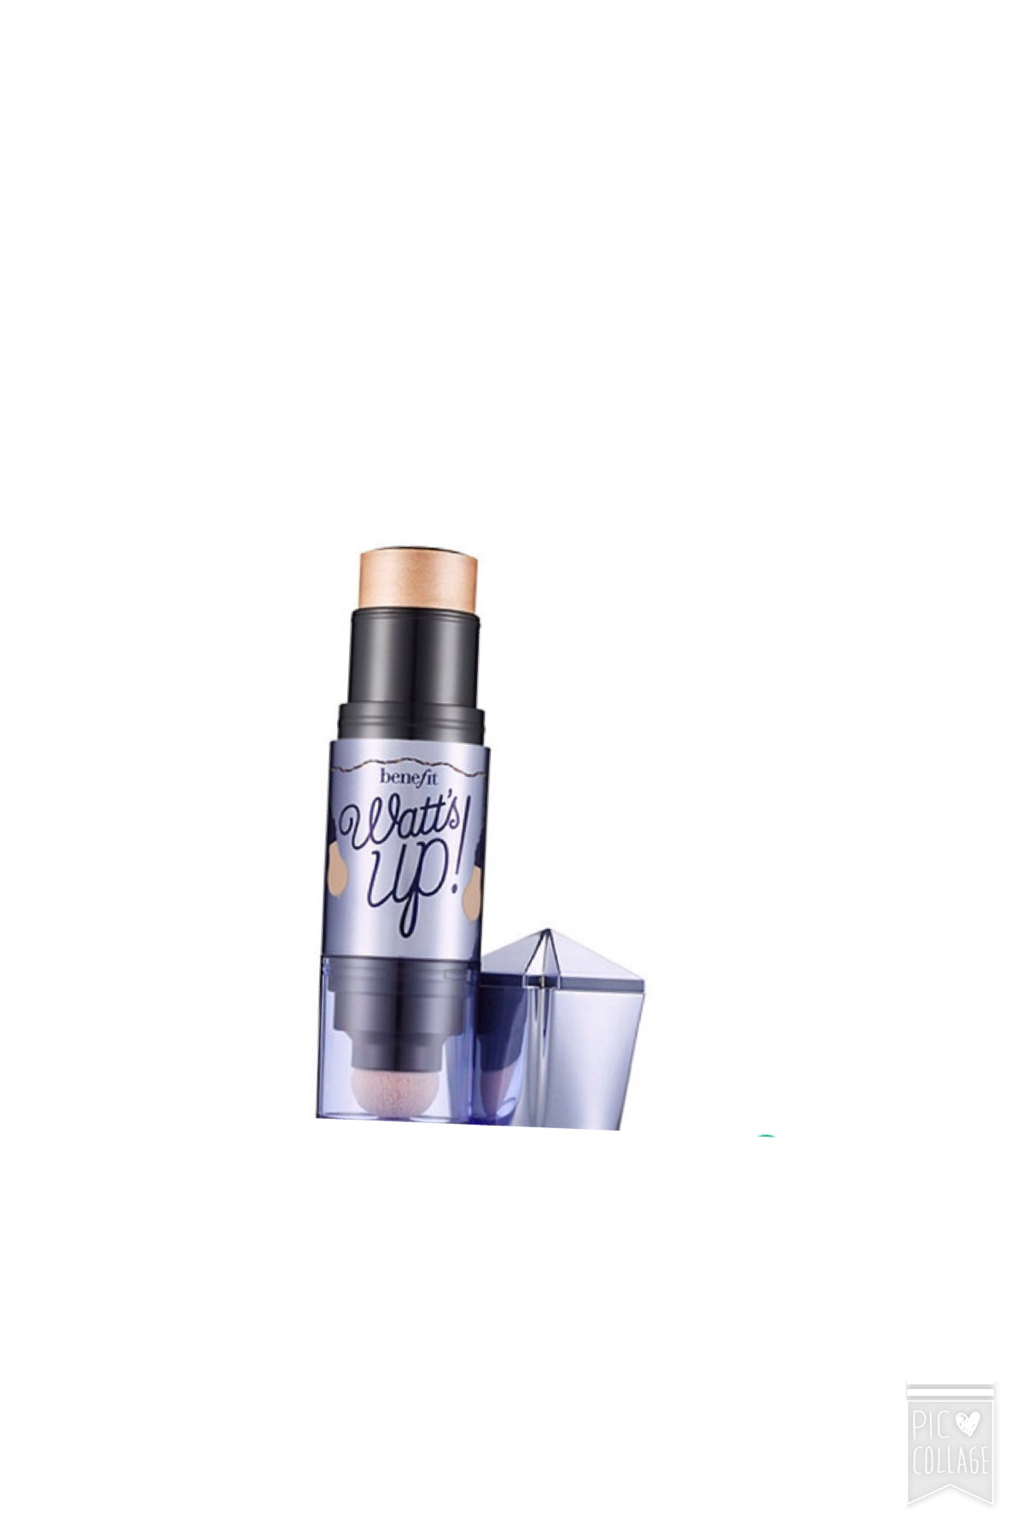
I have previously done a series of blog posts for beginners for people who just started experimenting and using make up so I thought it would be a great idea to continue on these series of blog posts and today I'm going to be talking about contouring. Contouring is one of most difficult aspects of make up but over time and with more practise it will become so much easier to do. For those of you that are unaware of the term contouring, contouring is the art of shading or highlighting to bring out or lessen features. Kim Kardashian is an prefect example as its a method that her make up artists use quite a lot. For an everyday make up look I would suggest that you use powder products rather liquids or creams as liquids and creams can be quite heavy and are best used for a more full on coverage. For this technique its best to use a shade two or three shades darker than your skin tone. The reason why we do this is when we go to blend it out it allows us to define our bone structure making your features more prominent and sculpted. When your selecting a highlighter I recommend that you select a shade that's two or three times lighter than your skin tone. By doing this it will give off that you have more of a lifted appearance you will look a wake and refreshed. just like selecting a contour shade there is so many variations to use such as liquid, cream and powders. I use benefits highlighting stick "watts up " and I can't fault it I will add in a chart below so you can see where to apply these products. Application of contour (1) You need to know the outline of your cheek bones just below your cheek bones is where you need to apply your contour so you need to suck in your cheeks to do this next take your contour using an angled brush and apply it. Do the same on both sides of your face you don't need to blend yet just leave the product on your face. (2) next you need to take your contour shade again there should be enough product on your brush apply this to your forehead. Don't blend we leave it to last. (3) next take more contour product and apply this along your jaw line this will outline your jaw and give your more of a defined look. Don't blend. (4) next use what ever excess product you have on your brush and draw a line either side of your nose this will give you an appearance of a more slimmer nose. Don't blend. (5) now we are going to blend, when your blending the contour underneath your cheeks blend it upwards and same with your forehead you want to blend up towards your hairline. Blend, blend , blend and blend blending is the key to achieving a flawless contour it won't look like you have lines all over your face. Application of highlighter (1) take your highlighter and draw a triangle shape in the centre of your forehead. (2) next apply it down your nose, Cupids bow and your chin. (3) next you want to apply it just above your contour on your cheeks. (4) take a blending brush and blend your highlighter. I've added in pictures below of products that I recommend I hope you found this blog post useful. Here's the links to my previous beginner blog posts. Eyeliner - http://goo.gl/A8EgCw Eyeshadow - http://goo.gl/Qj7S0T Brows - http://goo.gl/nlLhOU I hope you found this blog post useful ! Until next time bee's - Queen Bee
0 Comments
Leave a Reply. |
Archives
April 2021
|




 RSS Feed