 The dream matcha tea co were kind enough to send me out their matcha tea to review. For those of you that are unaware of what matcha is its a green tea which originates from Japan it's full of nutritional benefits and natural ingredients. "In recent times the Western world has adopted a fine love for its unique taste as well as its extreme nutritional advantages."-Dream Matcha The tea it's self is a bright vibrant green I'm not going to lie the colour was slightly off putting at first but eventually you'll get your head around it. Matcha tea is commonly taken as a hot drink normally prepared by adding 1 or 2 tea spoons of the bright green powder then adding boiling water from the kettle. You then take the bamboo whisk that is provided to mix the tea in zig zag motions until it froths up if you wish to add a bit of sweetness to the tea you can add honey or sugar. I loved the taste of it all though when I first took a look at the tea I thought the taste of the tea would be so much stronger but it wasn't this was a plus for me there is so many ways you can use this tea the dream matcha tea co have a list of options on their online website on how you can take the tea. https://goo.gl/UEYke8 .The tea provides a great mixture of essential vitamins and minerals which help your overall wellbeing. Here's what it contains
"Our premium grade matcha green tea powder comes from the Uji region of Japan; an area centred around matcha culture and believed to grow the very finest quality matcha tea powder."-Dream Matcha Matcha tea also has so many benefits it reduces stress and Aids the body's digestive function. The green matcha tea is available in a 50g tin which provides you with over 20 cups of this tea. I loved the packaging its bright, modern and unique. You can click here to go directly to their store https://goo.gl/xNsXm2 I hope you enjoyed this little review everyone. Comment below if you have tried this tea before or if you would like to try out this tea. Until next time - Queen Bee. * Disclaimer - I was contacted by dream matcha tea co to carry out a review of their dream matcha tea. I was given this tea for free and I was not paid or reimbursed. All opinions are 100 % my Own.* 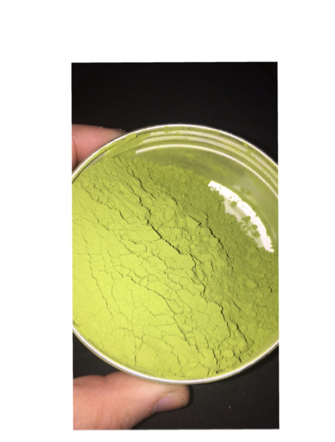
0 Comments
I thought It would be a great idea to show you guys what apps I have on my phone and which one's I use the most. So let's see what's on my phone. (1) Twitter Out of all of the social media apps that I use Twitter has to be my favourite it makes interacting with fellow bloggers and readers so much easier and I've made so many online friends through Twitter. My Twitter - @_L_A_U_R_A____ (2) Instagram I love Instagram and even more since I started blogging. I love capture images and sharing them with others it's a great way to express and share your creativity. My Instagram - queen_b_blog (3) Pic collage I love pic collage you can use to for so many things you can create back grounds and banners for your blog. You can edit your images and add a catchy back ground to it. (4) Snapchat I've only just started getting into using snapchat before I wasn't too interested in it. I love how I can interact with my readers and share with your guys what I'm up to. Snapchat - laurabyrneblog (5) Weebly Of course I have to have weebly on my phone it's my essential app and probably my most used app it allows to me to upload blog posts instantly from my phone. (6) Nikon wmu This app allows me to transfer photos from my camera to my phone which is so handy and easy to use. This app for sure its one of my favourites. I really hope you enjoyed this blog post comment below with your favourite app that you use. Next week on my blog I'm going to post a series of blog posts all related to Ireland for St.Patricks Day if any bloggers are up for a collaboration for St.Patricks day pop me an email at laurabyrneblog@gmail.com Until next time bee's - Queen Bee Previous blog post - http://www.queenbeeie.com/blog/beginners-guide-to-contouring 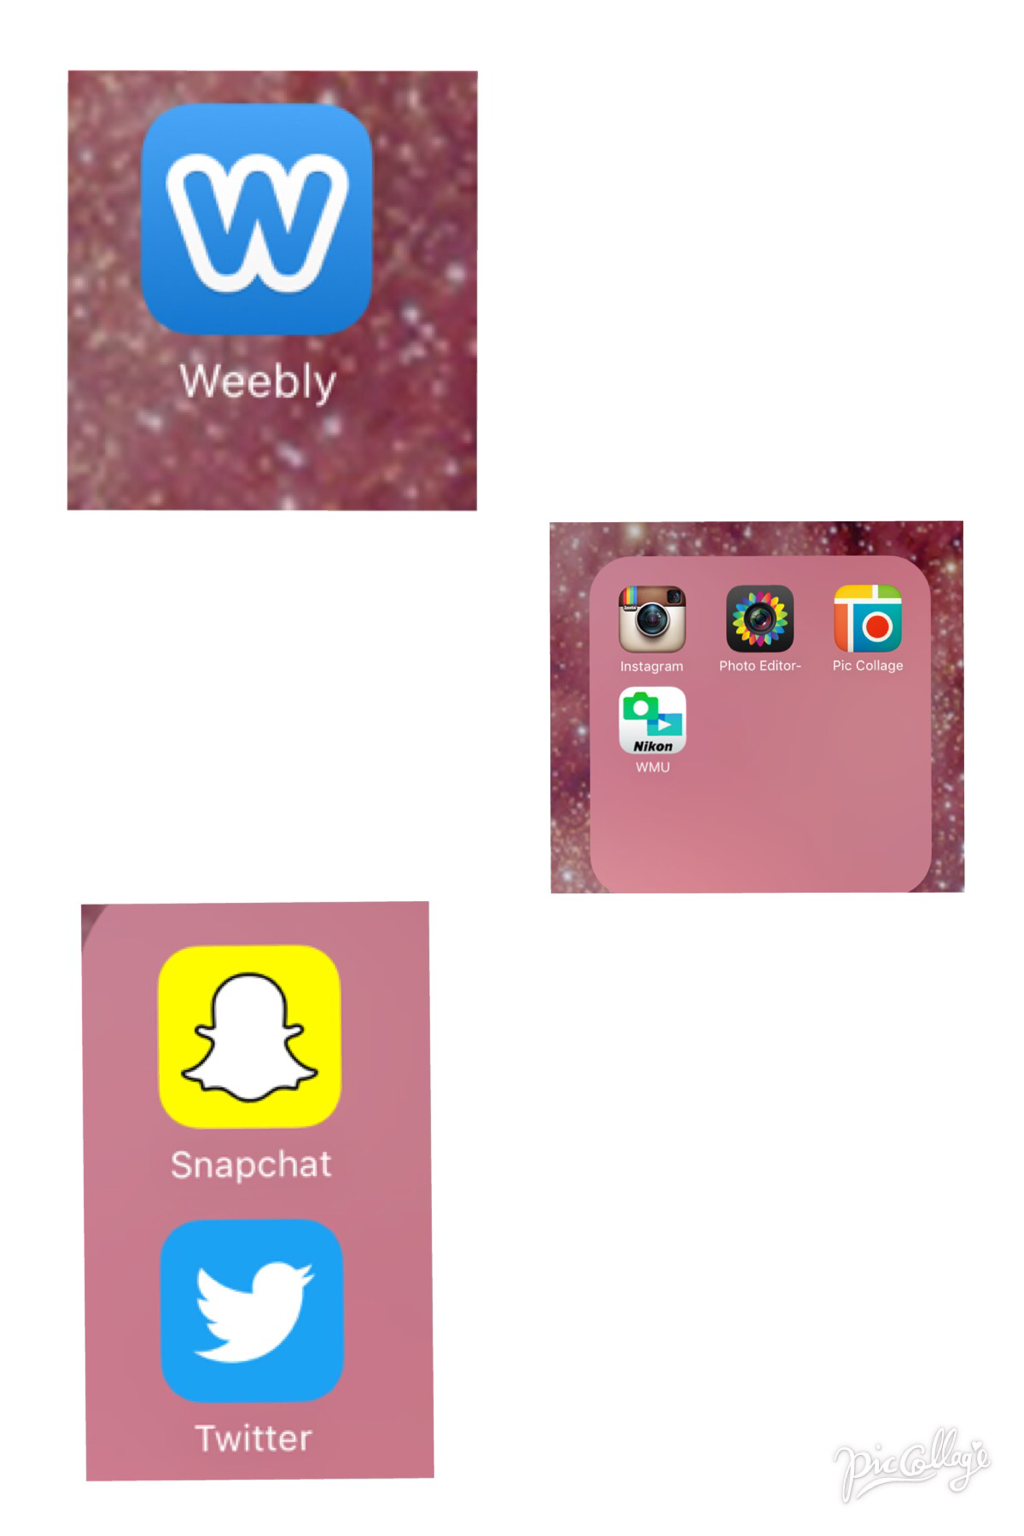 I have previously done a series of blog posts for beginners for people who just started experimenting and using make up so I thought it would be a great idea to continue on these series of blog posts and today I'm going to be talking about contouring. Contouring is one of most difficult aspects of make up but over time and with more practise it will become so much easier to do. For those of you that are unaware of the term contouring, contouring is the art of shading or highlighting to bring out or lessen features. Kim Kardashian is an prefect example as its a method that her make up artists use quite a lot. For an everyday make up look I would suggest that you use powder products rather liquids or creams as liquids and creams can be quite heavy and are best used for a more full on coverage. For this technique its best to use a shade two or three shades darker than your skin tone. The reason why we do this is when we go to blend it out it allows us to define our bone structure making your features more prominent and sculpted. When your selecting a highlighter I recommend that you select a shade that's two or three times lighter than your skin tone. By doing this it will give off that you have more of a lifted appearance you will look a wake and refreshed. just like selecting a contour shade there is so many variations to use such as liquid, cream and powders. I use benefits highlighting stick "watts up " and I can't fault it I will add in a chart below so you can see where to apply these products. Application of contour (1) You need to know the outline of your cheek bones just below your cheek bones is where you need to apply your contour so you need to suck in your cheeks to do this next take your contour using an angled brush and apply it. Do the same on both sides of your face you don't need to blend yet just leave the product on your face. (2) next you need to take your contour shade again there should be enough product on your brush apply this to your forehead. Don't blend we leave it to last. (3) next take more contour product and apply this along your jaw line this will outline your jaw and give your more of a defined look. Don't blend. (4) next use what ever excess product you have on your brush and draw a line either side of your nose this will give you an appearance of a more slimmer nose. Don't blend. (5) now we are going to blend, when your blending the contour underneath your cheeks blend it upwards and same with your forehead you want to blend up towards your hairline. Blend, blend , blend and blend blending is the key to achieving a flawless contour it won't look like you have lines all over your face. Application of highlighter (1) take your highlighter and draw a triangle shape in the centre of your forehead. (2) next apply it down your nose, Cupids bow and your chin. (3) next you want to apply it just above your contour on your cheeks. (4) take a blending brush and blend your highlighter. I've added in pictures below of products that I recommend I hope you found this blog post useful. Here's the links to my previous beginner blog posts. Eyeliner - http://goo.gl/A8EgCw Eyeshadow - http://goo.gl/Qj7S0T Brows - http://goo.gl/nlLhOU I hope you found this blog post useful ! Until next time bee's - Queen Bee 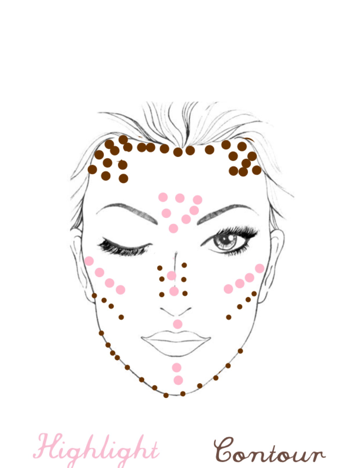 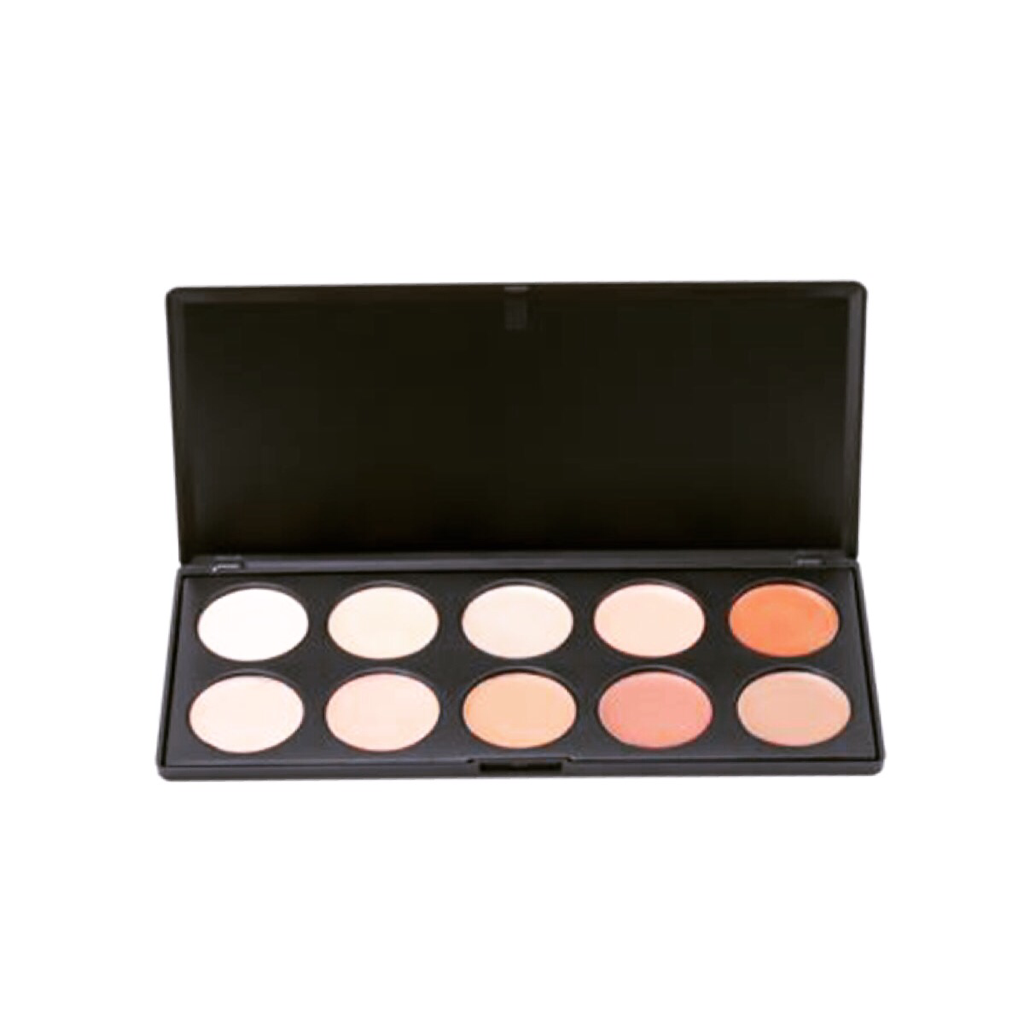 Blank canvas - Contour palette  Benefit watts up highlighter  A few of my friends have decided to start blogging and I thought it would be a prefect opportunity to create this blog post listing the things that I wished I knew before I started blogging. Blogging isn't as simple as you may think there is so much more to it. I started blogging as a past time and to share my thoughts and interest's with people. When I first started blogging it was a whole new world to me and something I hadn't known a lot about there is so much to it and over time you will learn things,every day I'm learning something new. If you ever find yourself stuck or unsure about anything there is so much help out there in the blogging community we all help one another. Right now I'm so happy were I'm at with my blog and how much I've learned. I can see everything progressing right before my eyes. So here's a list of things I wished I knew. (1) Blogging Takes time (2) There is always something to blog about (3) Networking is just as important (4) consistency is key (5) you don't have to be an expert (6) Don't be afraid to research and look up things to help improve your blog (7)Plan, planning is the one of the most important thing it allows you to post content and keep you to a routine (8) spend time on social media build up your social media platforms,make sure to have social media sharing icons on your blog (9) be true to yourself (10) good quality images make a huge difference (11) Always spell check (12) don't compare your blog to someone else's everyone's blogs are different and its representation of yourself. (13) push yourself, step outside your comfort zone (14) help and support other bloggers (15)have a catchy headline I hope you guys find this blog post useful for those of who are starting up. Until next time bee's - Queen Bee  |
Archives
April 2021
|

 RSS Feed
